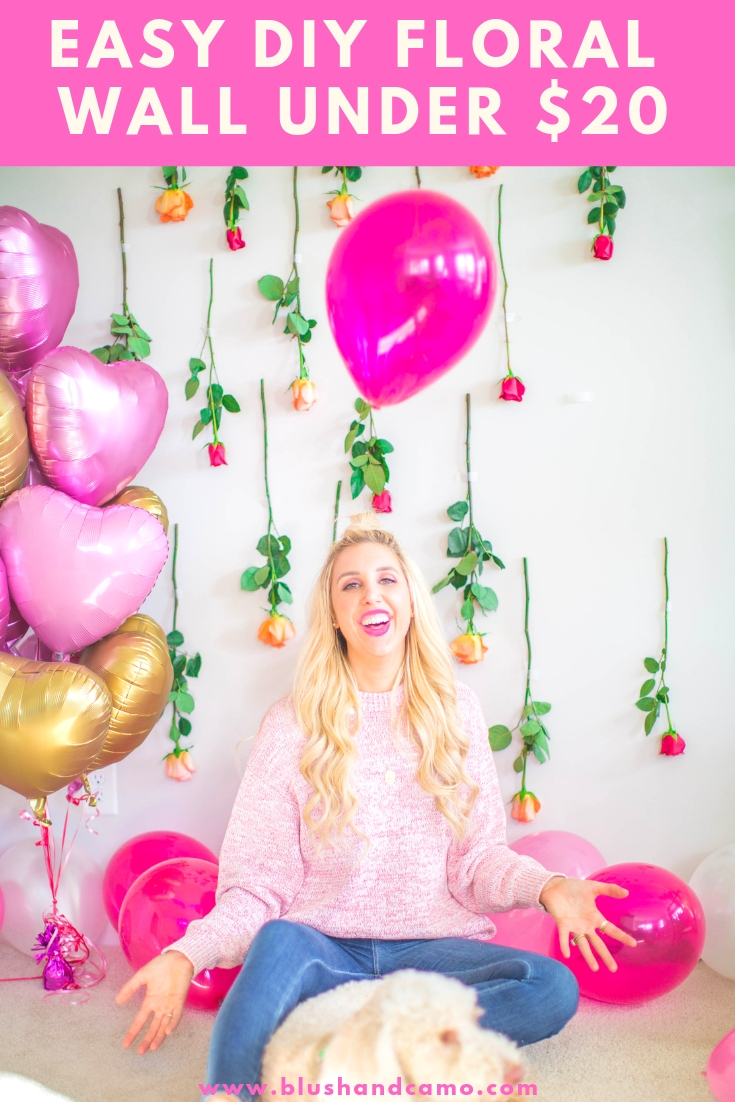
Welcome back to Blush & Camo! Today I’m so excited to share with you the DIY floral wall I created under $20 and took me 10 minutes to create. I’ll be honest with you, I’m not a huge DIY kinda girl but this was beyond simple and even if you think you’re not a DIY person- you can create this! I promise.
This floral backdrop is perfect for bridal showers, baby showers, backdrops for photos, or just about any event when you want a super cute backdrop that is sure to get compliments from your friends.
Keep reading to find out the materials you need to create this wall and my step by step process to put it together!

MATERIALS NEEDED
- 12-25 flowers (depending on how large of an area you are trying to cover)
- Scotch wall safe tape
That’s it! Those are all the materials you need!

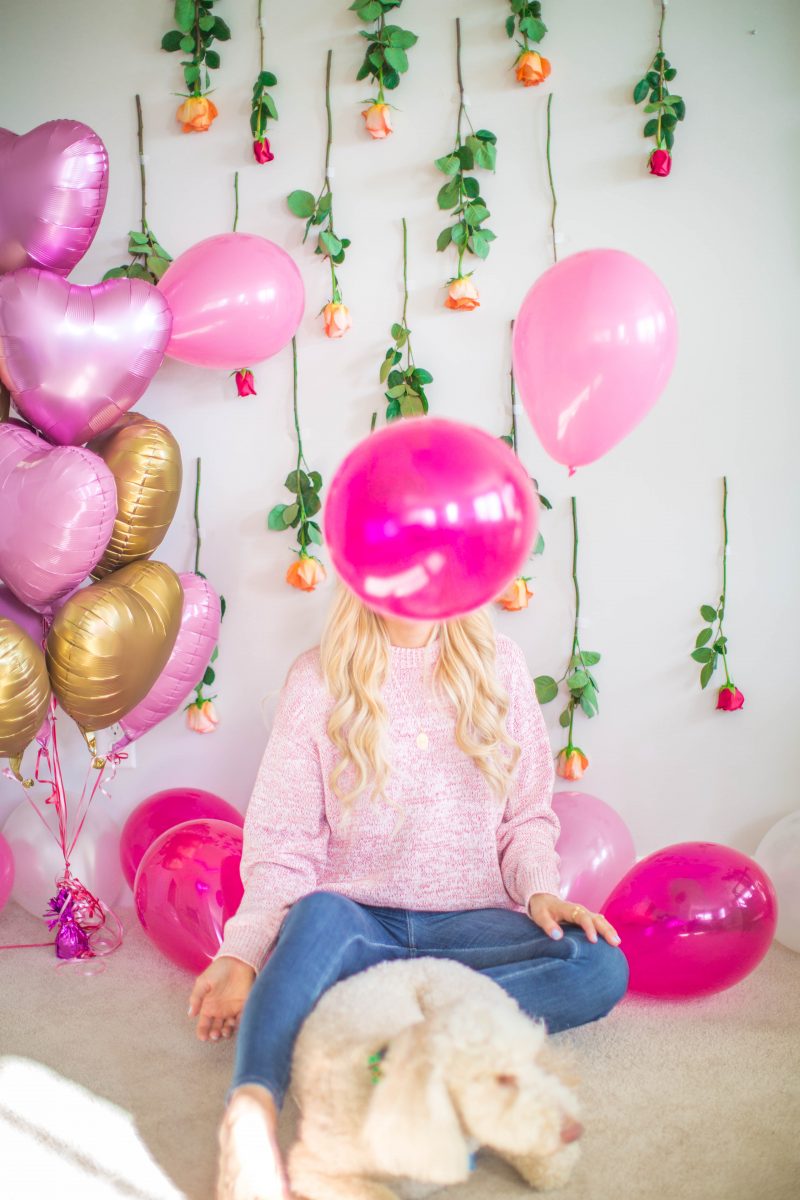
HOW TO PUT TOGETHER A FLORAL WALL
Now that you have your materials here is how I put this wall together!
1.) First I laid out all my flowers. If you decide to use multiple colors I put all of one color in one group and the other hues in the other. This makes it easier when you are trying to determine where each flower should go!
2.) Start in the middle. This is so you can gauge how far up and down you would like your wall to go!
3.) Take your first flower and face it down. Place the scotch tape 1/3 of the way from the bottom of the flower.
4.) Repeat step three until you have all of your flowers on the wall. PRO TIP: You don’t want your flowers to be too close to one another. The negative space between the flowers is part of the beauty of the floral wall you’re creating! You don’t want the flowers to look to cramped or crowded.
5.) You now have a beautiful floral wall that is super affordable and simple to create!
I’ve linked my tape and some faux flowers (in case you don’t want to purchase real ones!) below for you to browse.
What event would you use this floral wall for? Let me know in the comments below!
Thank you so much for stopping by Blush & Camo!
xx Julianna





Leave a Reply