Welcome back to B&C! Today I’m sharing my full microblading experience by answering the questions you sent me!
Why did you decide to get your eyebrows microbladed?
My eyebrows have always been a thing I’ve been self conscious about. They never took their own shape or form. It didn’t matter how many eyebrow products I tried, YouTube tutorials I watched, or professionals I went to in order to shape them- they just never stood out.
About a year ago I found out about microblading and was fascinated! The results looked incredible and every “after” picture showed women with absolutely flawless brows. It seemed almost too good to be true. I really wanted to get my eyebrows done, but after a month of looking at photos on Pinterest, reading blogs posts of women who received the procedure, and also watching numerous microblading videos on YouTube I was too scared to go through with it. I couldn’t get over the fact that it was a semi-permeant tattoo on your face.
After 12 full months of thinking about it and really doing my research, I finally decided it was time to get my eyebrows microbladed!
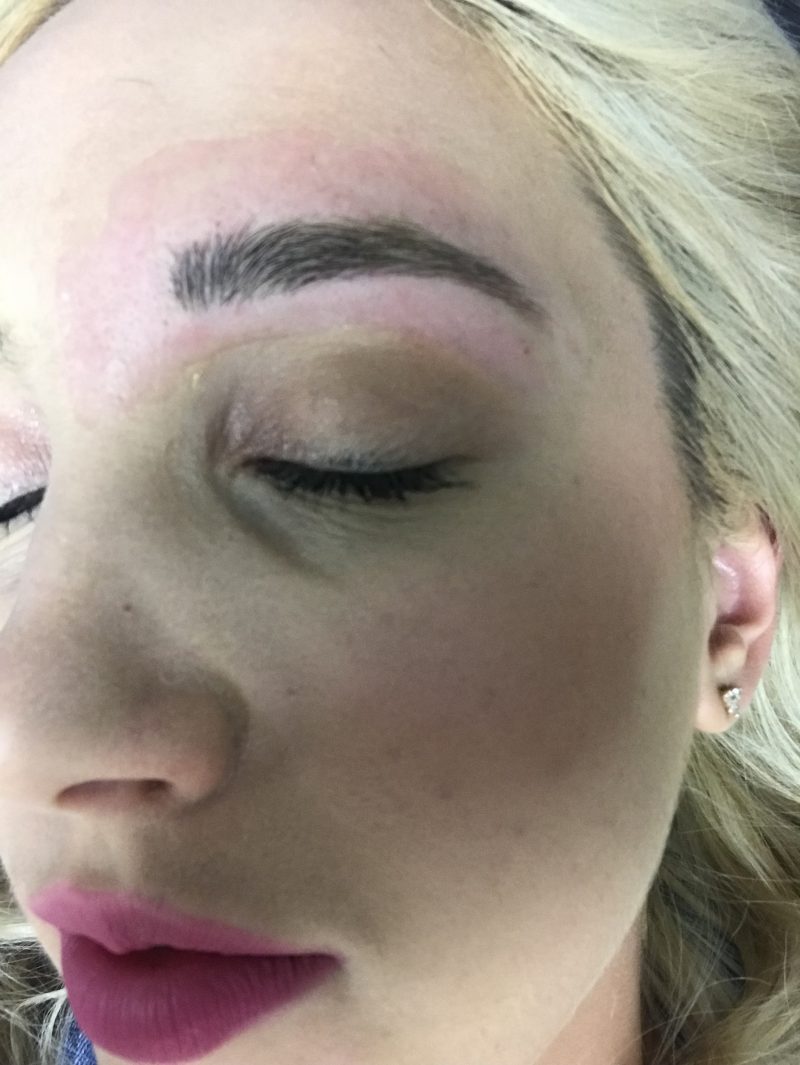
Shaping my brows before the procedure
How did you decide on a microblading artist?
I did my research and also talked to many women who have gotten the procedure done! At my hair salon, Tiffany’s Hair Spa, almost all the women got their eyebrows microbladed by Arista Booker and their eyebrows looked amazing! They also said she was phenomenal to work with and put their minds at ease during the entire process. Arista also has multiple microblading certifications! She is always going to classes to learn the best, and most updated methods, for microblading eyebrows to ensure her clients get the best results.
How much did you pay?
I paid $250 for the microblading procedure and this included the touch up session. Prices may vary depending on where you live, but ensure that your cost includes the touch up procedure.
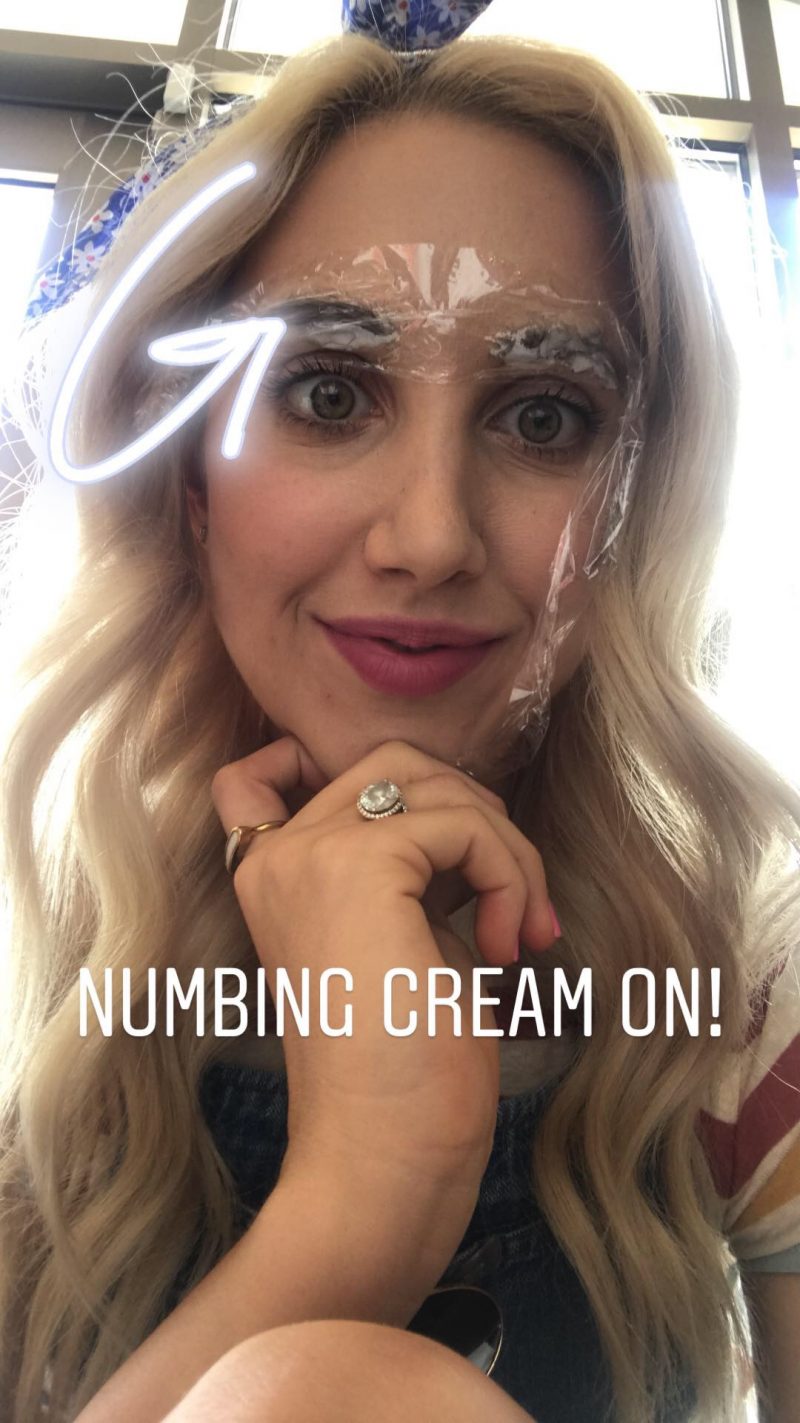
Putting the numbing cream on before the procedure!
How did the procedure go?
I was extremely nervous when I first walked into the salon to get my brows done. As I was walking into the salon I was thinking to myself, “Julianna this is crazy, you should turn around and leave.” Any worries I had Arista put my mind at ease when she sat me down and explained the entire process with me.
She numbed my brows and then started to take measurements of my forehead and brows to ensure everything was symmetrical. This is called mapping. Your microblading artist should do this on the first session and this takes up quite a bit of time. Our mapping session took 45 minutes to an hour and was a very collaborative process. She put markings in places to verify where the arch would go and where my brows should stop and start. Arista allowed me to give input and would make subtle changes based off of what I wanted my brows to look like. We also picked out the color of my brows and of the three shades we decided on the middle, warm tone brown.
The entire procedure took 2 hours. One hour of mapping and one hour of actual tattooing.
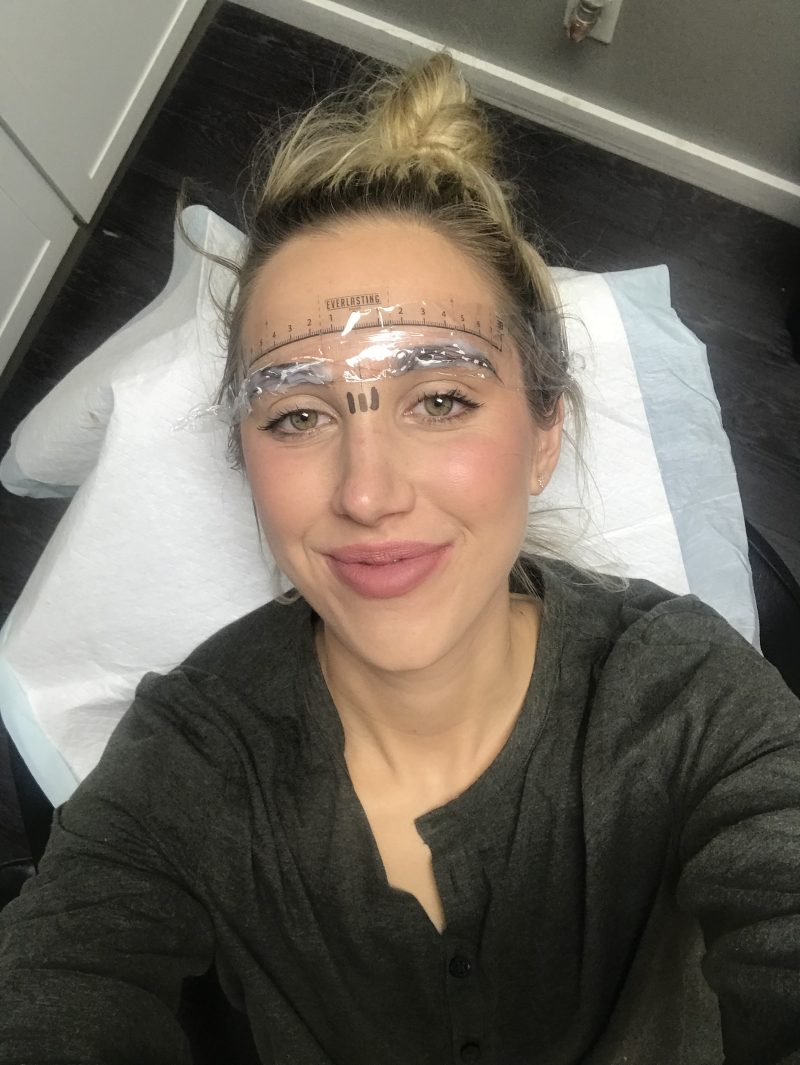
Mapping out my brows. This was taken at my first appointment and your first appointment is when they do the mapping!
Is microblading permanent?
No, microblading lasts anywhere from 1-3 years depending on the oils in your skin type and age. This is a semi-permanent tattoo.
Does microblading hurt?
I would give the microblading procedure, if ranking 1-10, a 4. It wasn’t overly painful, but it also didn’t feel pleasant. When you are getting your brows done it feels like someone is scratching you. The noise was one of the most uncomfortable parts because it sounds like someone is scratching velcro (it sounds scarier then it is!).
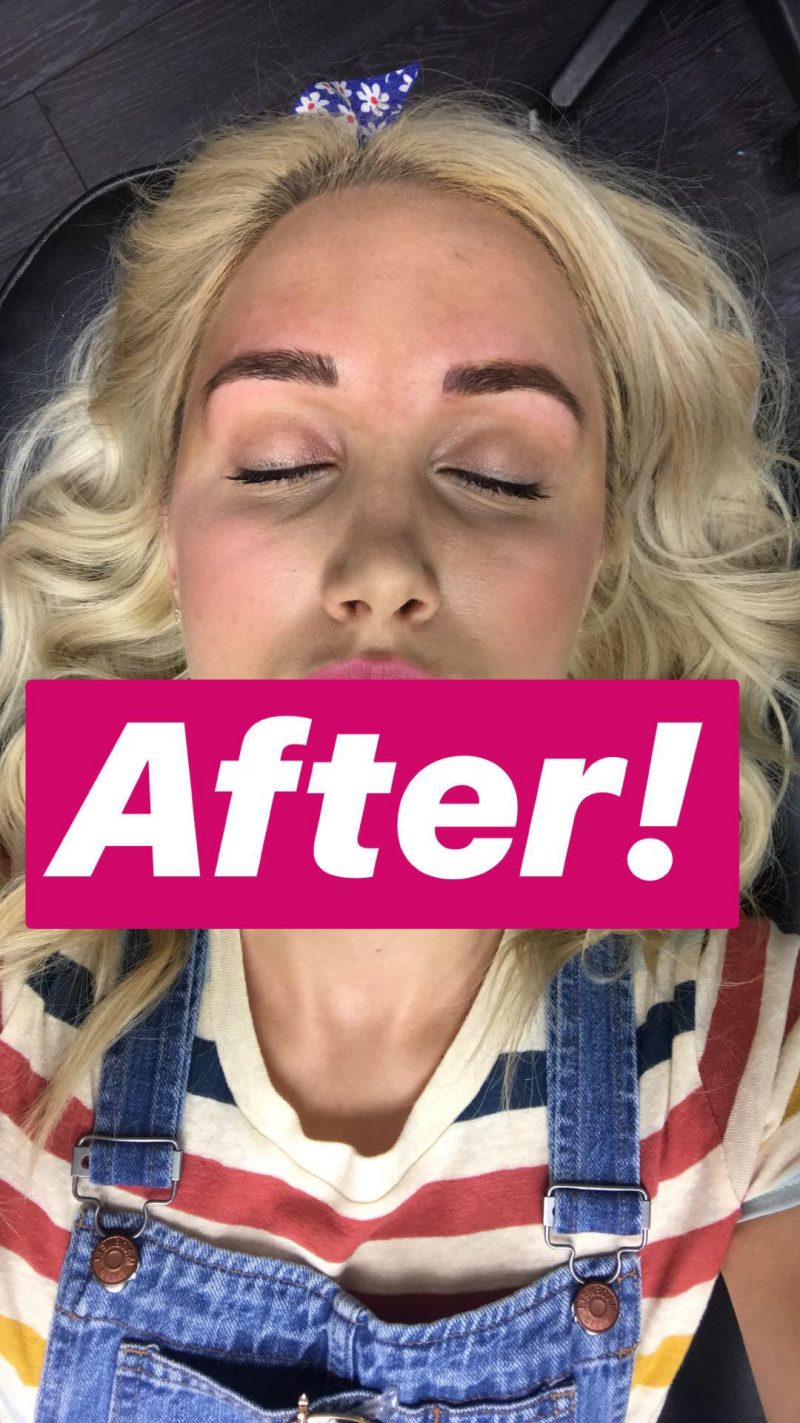
The final result!
What is the healing process like?
- Days 1-2: This is when the eyebrows are the most sensitive after the procedure. For the first 24 hours I don’t touch them and let the oil/ointment Arista put on them soak all the way in. At the end of day 2 is when I started to clean them. Also around day 2 is when my eyebrows started to get really itchy. It’s important to note that you should never itch your eyebrows with your hands or touch your eyebrows during the healing process. I carried around a pack of q-tips, so if the itching became unbearable (which was only twice in about 4 days) then I pulled out a q-tip and lightly patted on my brows until the itching stopped.
- Days 3-4: Day 4 is when I noticed my eyebrows starting to flake, but it was very little flaking, and the itching started to stop around day 4.
- Days 5-6: This is when you really start to notice your brows changing and they can peel so it looks like your brows aren’t perfect anymore. It’s important not to freak out during this stage and know that this is completely normal and part of the healing process. I didn’t have much scabbing, but I did notice this was when my brows started to look uneven due to the peeling process.
- Day 7-10: Your scabs will start to flake off and your brow color will look like a more natural hue and not severely pigmented!
- Day 14-21: Day 14 is when you are allowed to really get your brows wet in the shower and go about your business as usual. You can also start to put makeup on your brows if you like during this time. I never use brow filler, so I didn’t put makeup on my brows. Your eyebrows are still going through the healing process at this time, but you’re almost done!
- Day 30: Your healing process is complete!
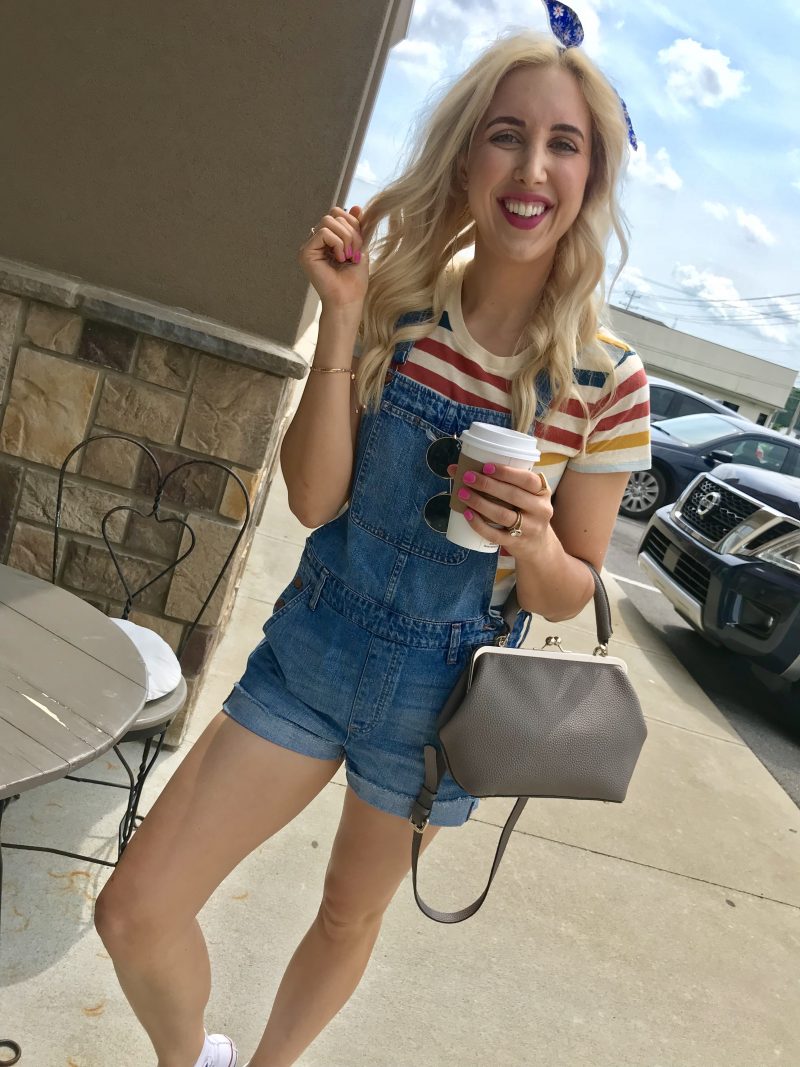
Less then five minutes after the procedure!
What is the after care process?
Depending on the artist you see they will give you specific instructions on the aftercare process and each one varies slightly.
That’s my microblading experience! What did you think of today’s post?! Hopefully I was able to answer all your questions and if have any more please leave them down below!
Thank you for stopping by B&C!
xx Julianna




Leave a Reply